- Home ›
- VPSサービスの使い方 ›
- HERE
SSHサーバの設定(ポート番号変更、rootのログイン禁止、パスワード認証禁止)
サーバ側で動いているSSHサーバについてセキュリティを考慮していくつかの設定変更を行っておくことをお勧めします。ここではSSHサーバの設定変更の手順と、導入当初に設定変更しておいた方がいい項目について解説します。
1.SSHサーバの設定変更手順
2.ポート番号の変更
3.rootのログイン禁止
4.パスワード認証禁止
5.SSHサーバの再起動
それではSSHサーバの設定を行います。サーバへログインして下さい。
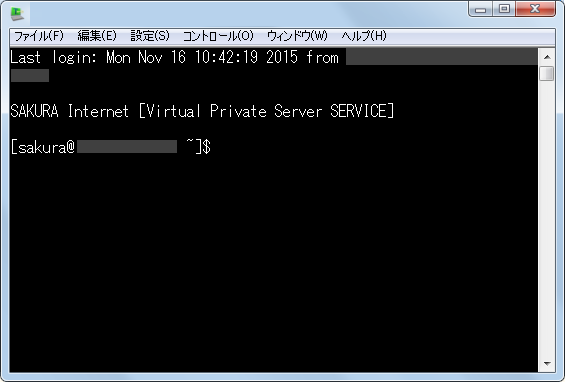
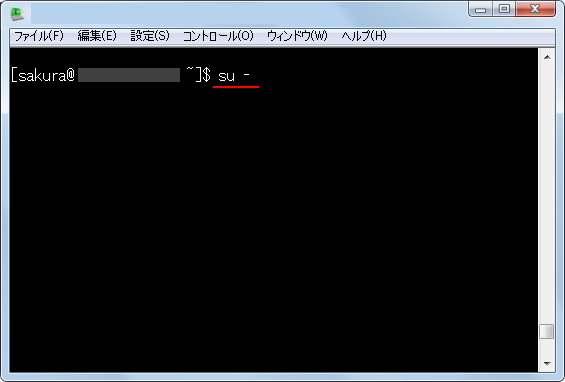
一時的にrootユーザーになります。次のように実行して下さい。
[sakura@xxxxxxxx ~]$ su -
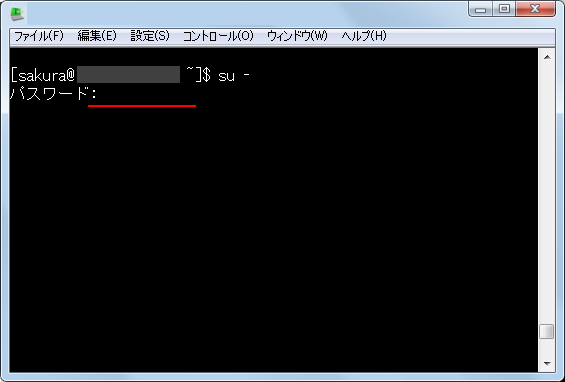
rootのパスワードを入力してEnterキーを押して下さい。
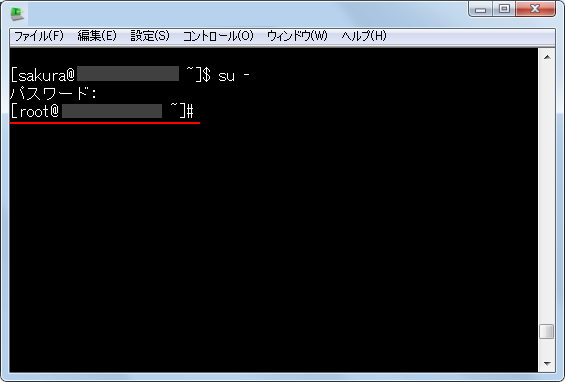
正しく入力できれば次のような表示になります。
[sakura@xxxxxxxx ~]$ su -
パスワード:
[root@xxxxxxxx ~]#
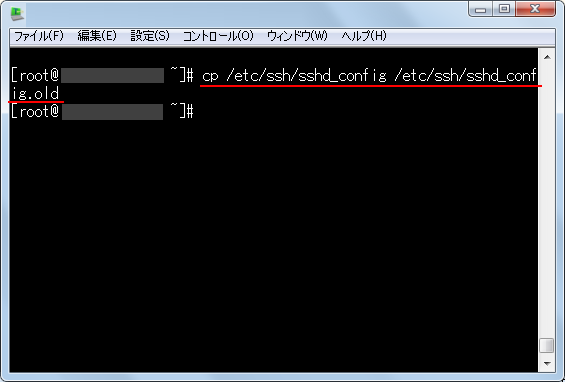
SSHサーバに関する設定ファイルは「/etc/ssh/sshd_config」にあります。編集を行う前にバックアップを取っておきます。
[root@xxxxxxxx ~]# cp /etc/ssh/sshd_config /etc/ssh/sshd_config.old
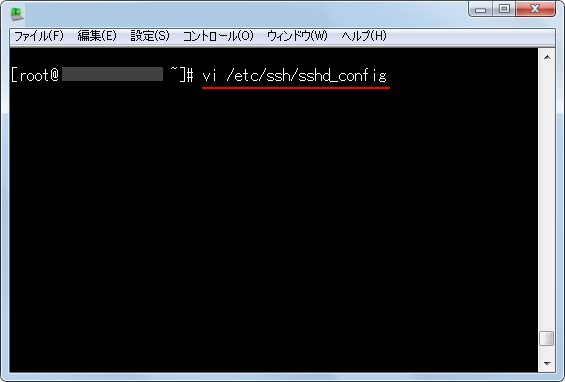
それでは次のように設定ファイルをviを使って開いて下さい。
[root@xxxxxxxx ~]# vi /etc/ssh/sshd_config
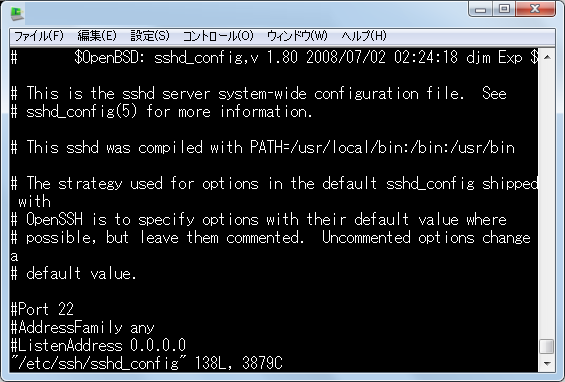
設定ファイルの内容は次のようになっています。後から変更する箇所は赤字にしてあります。
#       $OpenBSD: sshd_config,v 1.80 2008/07/02 02:24:18 djm Exp $


# OpenSSH is to specify options with their default value where
# default value.

#Port 22
#AddressFamily any
#ListenAddress 0.0.0.0
#ListenAddress ::

# activation of protocol 1
Protocol 2

# HostKey for protocol version 1
#HostKey /etc/ssh/ssh_host_key
# HostKeys for protocol version 2
#HostKey /etc/ssh/ssh_host_rsa_key
#HostKey /etc/ssh/ssh_host_dsa_key

# Lifetime and size of ephemeral version 1 server key
#KeyRegenerationInterval 1h
#ServerKeyBits 1024

# Logging
# obsoletes QuietMode and FascistLogging
#SyslogFacility AUTH

# Authentication:

#LoginGraceTime 2m
#PermitRootLogin yes
#StrictModes yes
#MaxAuthTries 6
#MaxSessions 10

#RSAAuthentication yes
#PubkeyAuthentication yes
#AuthorizedKeysFile     .ssh/authorized_keys
#AuthorizedKeysCommand none
#AuthorizedKeysCommandRunAs nobody

#RhostsRSAAuthentication no
# similar for protocol version 2
#HostbasedAuthentication no
# Change to yes if you don't trust ~/.ssh/known_hosts for
# RhostsRSAAuthentication and HostbasedAuthentication
#IgnoreUserKnownHosts no
# Don't read the user's ~/.rhosts and ~/.shosts files
#IgnoreRhosts yes

# To disable tunneled clear text passwords, change to no here!
#PasswordAuthentication yes
#PermitEmptyPasswords no
PasswordAuthentication yes

# Change to no to disable s/key passwords
#ChallengeResponseAuthentication yes
#KerberosOrLocalPasswd yes
#KerberosTicketCleanup yes

GSSAPICleanupCredentials yes
#GSSAPIStrictAcceptorCheck yes
#GSSAPIKeyExchange no

# be allowed through the ChallengeResponseAuthentication and
# PasswordAuthentication.  Depending on your PAM configuration,
# the setting of "PermitRootLogin without-password".
# and ChallengeResponseAuthentication to 'no'.
#UsePAM no
UsePAM yes

# Accept locale-related environment variables
AcceptEnv LC_PAPER LC_NAME LC_ADDRESS LC_TELEPHONE LC_MEASUREMENT
AcceptEnv LC_IDENTIFICATION LC_ALL LANGUAGE
AcceptEnv XMODIFIERS

#AllowAgentForwarding yes
#AllowTcpForwarding yes
#GatewayPorts no
#X11Forwarding no
X11Forwarding yes
#X11DisplayOffset 10
#X11UseLocalhost yes
#PrintMotd yes
#PrintLastLog yes
#TCPKeepAlive yes
#UseLogin no
#UsePrivilegeSeparation yes
#PermitUserEnvironment no
#Compression delayed
#ClientAliveInterval 0
#ClientAliveCountMax 3
#ShowPatchLevel no
#UseDNS yes
#PidFile /var/run/sshd.pid
#MaxStartups 10:30:100
#PermitTunnel no
#ChrootDirectory none

# no default banner path
#Banner none

# override default of no subsystems
Subsystem       sftp    /usr/libexec/openssh/sftp-server

# Example of overriding settings on a per-user basis
#Match User anoncvs
#       X11Forwarding no
#       AllowTcpForwarding no
#       ForceCommand cvs server
では変更を行ないます。
SSHで接続する場合に使用するポート番号はデフォルトで22番になっています。外部からの不正アクセスなどの攻撃は、デフォルトの22番ポートへ行なわれる可能性が高いので変更しておきます。
設定するポート番号は自由に使用可能な1024 ~ 65535番の中で現在他のサービスなどで使っていないものを選んで下さい。49152 ~ 65535番の中から通常どれでも大丈夫かと思います。今回は50100番にします。設定ファイルの中で次のように記述されているところがありますので、先頭の「#」を外してから番号を変更して下さい。
(変更前)
#Port 22
(変更後)
Port 50100
rootユーザーは必ず作成されていることが分かっているので、パスワードだけを推測して攻撃を受けやすくなっています。そこでrootユーザーで直接ログインはできないように変更しておきます。
設定ファイルの中で次のように記述されているところがありますので、先頭の「#」を外してから「PermitRootLogin no」に変更して下さい。
(変更前)
#PermitRootLogin yes
(変更後)
PermitRootLogin no
公開鍵認証によるSSH接続の設定が終わっている場合は、パスワード認証を利用できなくしておいたほうが安全です。設定ファイルの中で次のように記述されているところがありますので、「PasswordAuthentication yes」に変更して下さい。
(変更前)
PasswordAuthentication yes
(変更後)
PasswordAuthentication no
設定の変更箇所は以上です。ファイルを保存して閉じて下さい。
設定ファイルを変更したらSSHサーバを再起動します。次のようにコマンドを実行して下さい。
[root@xxxxxxxx ~]# /etc/rc.d/init.d/sshd reload
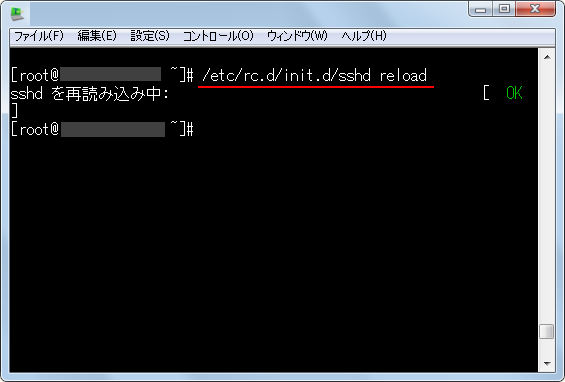
上記のように表示されれば設定変更は完了です。
次回以降ログインする時にはポート番号が22番からご自身が指定した番号に変更になっていますので、クライアントの設定を変更して下さい。
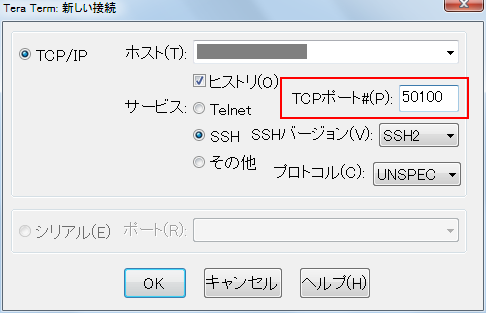
またパスワード認証でのログインやrootユーザーでのログインはできなくなっていますのでご注意下さい。
( Written by Tatsuo Ikura )


 AdminWeb